Custom Cut File Set Up Instructions
How To Set Up Custom Contour Cut Products
We Add a Border Cut Out Outline When No Cut Out File Is Submitted
Perfect Custom Contour Cut Products begin with a properly set up print and cut file. The artwork can be anything from a simple line art logo to a complex combination of photography and type. But in order to turn your file into a die cut sticker, you’ll need to follow a few easy guidelines to make sure that no matter the level of complexity, your final product will be produced exactly as intended. Custom Contour Cut Products from Samedayrushprinting.com feature a white border around the image area when no contour cut line file is provided by the customer. The border is called a “cut line” and is added to help the sticker stand out on any background and to compensate for any slight irregularities that may occur during the actual cutting operation. This cut line will be automatically added by Samedayrushprinting.com - at no additional cost you - and is between 1/8" and 1/4” thick for smaller products but on large format products like boards, window stickers etc can be between 1/2" and 1" thick, depending on the size and complexity of the image file supplied.
What Is A Cut Line?
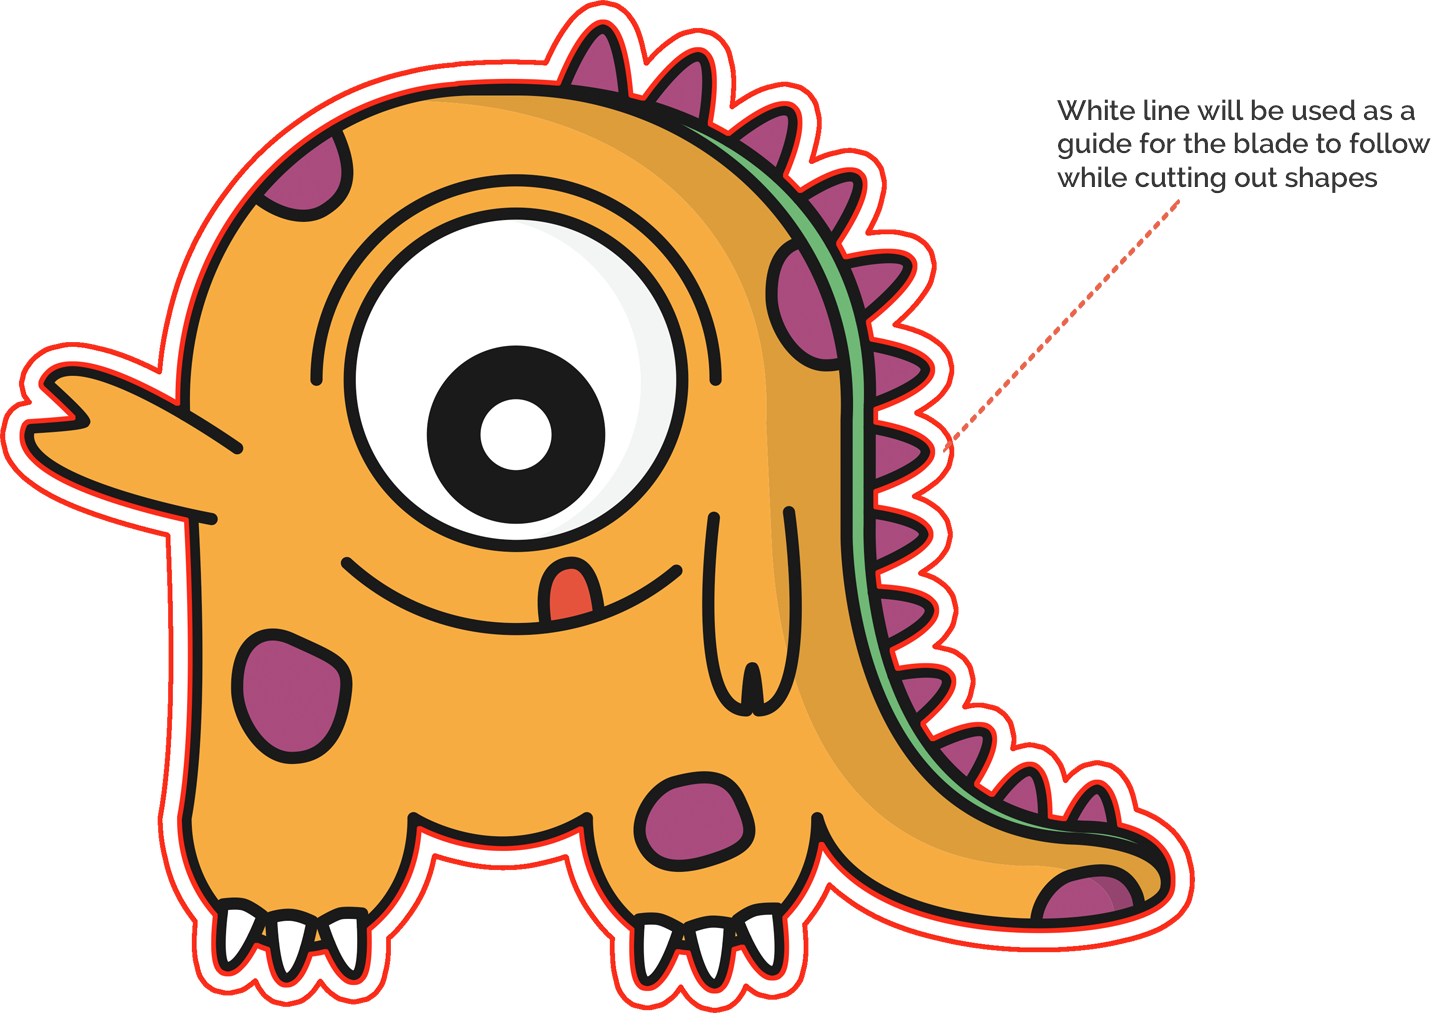
Vector graphic images are fairly simple. The difficulty lies when creating a contour around a bitmap image or certain portions of the bitmap (for example, there may be white space surrounding the image). Cutting individual images out of a larger sheet with tight tolerances is very exacting work, therefore, correct image preparations are vitally important. Before producing Custom Contour Cut Products, the images must be made ready for cutting by first generating a line or contour around each image that is to be cut out. This line - called a cut contour line - is added to indicate to Samedayrushprinting.com’s cutting equipment the shape of the image that needs to be cut out and indicates the path which the blade should follow. In the example below, a white cut line has been added to the monster Contour Cut Products that was supplied to Samedayrushprinting.com. The finished Contour Cut Products will have a 1/8” to 1/4” border around it when removed from the backing.

Custom Color Cut Lines For A Bleed Effect
Advanced graphic designers may wish to utilize cut contours in various colors to give the illusion of a full bleed or to accomplish other visual effects. While Samedayrushprinting.com utilizes white cut contour lines as standard, we have the capability to accept files that have custom cut contour lines applied. In the example below, the customer desires a “full bleed” effect, and has, therefore, added a custom cut line that is the same color as the monster. The 1/8“ to 1/4” border still exists on the final sticker but is invisible since it’s the same color as the image it surrounds.

Designer Information: Please note that adding custom cut lines is a procedure that requires an advanced level of proficiency in vector design applications. When submitting an image with a custom color cut line, Samedayrushprinting.com must receive one of the following pure vector layered formats: .EPS / .AI / .PDF / .SVG.
Multiple Cut Lines For Complex Stickers
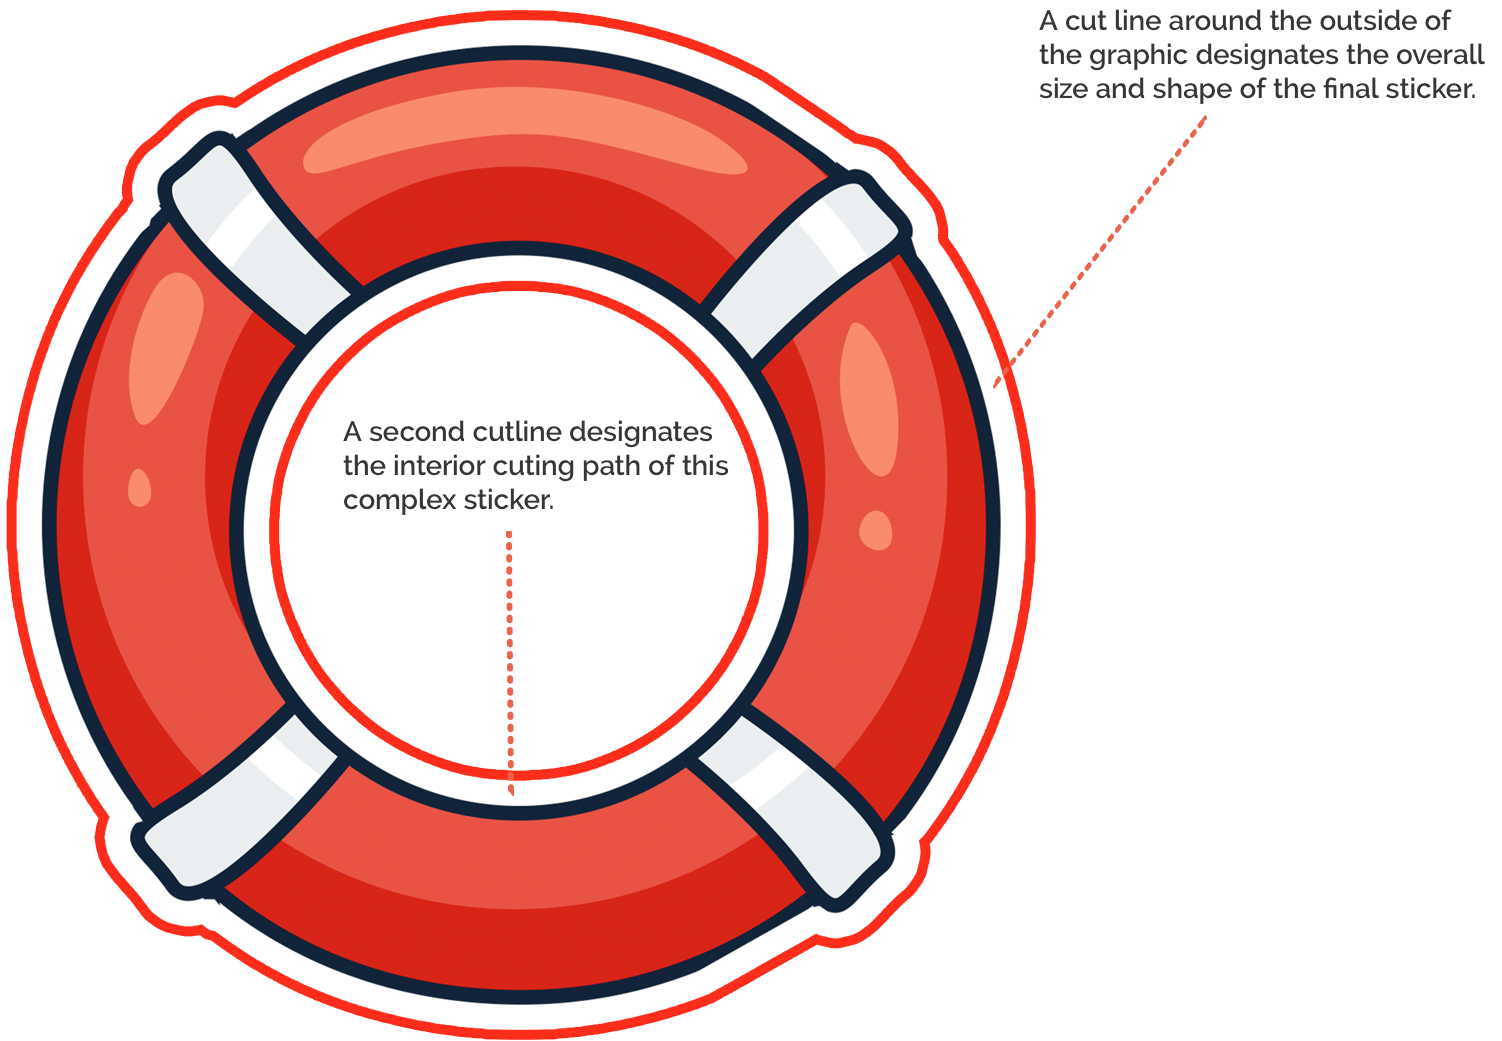
While typical Custom Contour Cut Products consist of a single cut contour around the perimeter of the image, it is possible to cut smaller shapes out within a larger image. For example, a Custom Contour Cut Products of a donut may have the hole in the middle cut out, giving it a highly polished appearance. In order to perform this action, multiple cut lines must be applied to the image. In the example below, the customer wants a donut Custom Contour Cut Products with the middle removed. Cut lines have been added around the outside and the inside to designate to cut to be performed. The final Custom Contour Cut Products will have 1/8“ to 1/4” borders around both cut areas and the middle of the donut will be removed. Multiple cut lines may be white or use the custom color method described above.

Designer Information: Adding complex cut lines is not performed by Samedayrushprinting.com by default and should only be attempted by advanced vector design application users. You can contact us if you want one of our professional graphic designers to do it for you for an additional fee. When submitting an image with complex cut lines, the digital file supplied must be one of the following pure vector layered formats: .EPS / .AI / .PDF / .SVG
How To Set Up Your Own Custom Contour Cut Outline (Easy Way)
Die Cut, Manual Cut & Laser Cut Custom Contour Cuts are represented by a 2-3 pixel stroke (in photoshop) or a 2-3 pixel path (in illustrator) on a separate layer from your sticker art.
We prefer that your contour custom cut outline to be colored 100% magenta, but any color will do. We will use it as a guide for cutting.
Make sure your contour custom cut file is a separate file.
We will also need the print ready file as a separate file as well.
Make sure your contour custom cut line is at least 1/4″ outside of your important text and graphics.
Make sure to have at least a 1/4″ bleed outside of your die line as well. Without the 1/4″ bleed and safety area, even a slight shift of 3/32″ in the cutting process can make your sticker appear to be crooked or off center.


